This article is a continuation through the process, step-by-step, of how to flat tan a squirrel hide using the Advanced Tanning Solutions Tan-a-Fur Skin Kit. We are demonstrating on squirrels, but the process is similar for other fur skins. To get to this point, you should have already completed steps 1-5 in Part 1: Fleshing, Salting, & Rehydrating and Part 2: Pickling & Shaving
The Tan-a-Fur Skin Kit includes everything you need to tan a life-size mountain lion, a medium bear, or several small animals. It’s a perfect kit for beginner home tanners and DIY taxidermists. You’ll get a professional-quality result with a simple, all-in-one experience.
The kit includes:
- Fleshing/Shaving Tool
- Degreaser
- Pickle Tan
- Fur Oil
- Softening Stone
- Silk Powder
- Dust Mask
- Non-Latex Disposable Gloves (2)
You will need table salt, bleach, baking soda, a plastic bucket, and hot water.
After you finish Step 5, shaving your squirrel skin, you’re ready to move on to the next step — tanning.
Note: Because squirrel skins have thin skin, they can go back into the Pickle Tan bath you saved from Step 4, then immediately raise the pH. If you were working with a larger fur animal with heavier skin, you would soak the skin in the Pickle Tan bath for 12 to 24 hours before raising the pH.
Step 6: Tanning
Raising the pH turns your pickle bath into a Pickle Tan. This allows the tan to bond to the skin. To raise the pH, add 2 Tablespoons of baking soda per gallon to your saved pickle bath.

To do this, first dissolve the baking soda in hot water and then add it to the Pickle Tan bath. You’ll notice it will start to fizz — this is normal! Once the fizzing has calmed down, you can slowly add your skin to the tan.

Gently submerge the squirrel skin into the Pickle Tan, making sure it is fully submerged and that there are no air bubbles. Let it soak in the tan for at least four hours. Larger, thicker-skinned animals will need a longer soak (up to 24 hours).

The Tan-a-Fur Skin Kit is already pre-adjusted for pH with the baking soda, so testing the pH won’t be necessary with this easy-to-use kit.
After about four hours, the squirrel skin will be ready to remove from the tan. Using your gloves, gently remove the skin from the tan, squeezing off any excess liquid. Be careful not to pull the fur when you squeeze it. Next, drape it over your bucket, fur side up, to allow it to drip-dry for about half an hour.

Step 7: Oiling
When your skin has had a chance to drip dry after tanning, it will be ready for the next step, oiling. Your skin should be just slightly damp for oiling. You’ll use the Fur Oil that comes in the Tan-a-Fur Skin Kit.
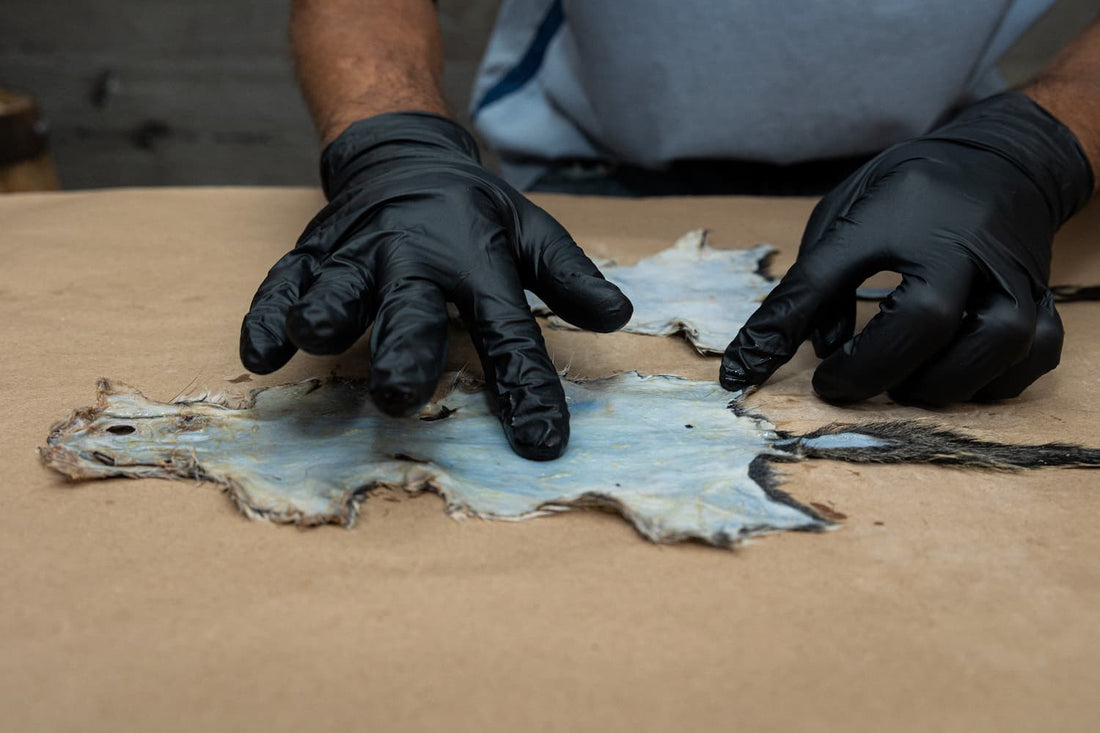
Lay your skin flat on the table, fur side down. Open up the tail so it can accept some of the oil, too. Pour a small amount of the Fur Oil onto the flesh side of your skin.

Then, wearing your gloves, work the oil into the flesh taking care to work it into all the nooks and crannies. Work your way all around the edges of the skin, using your finger like a squeegee to work the oil into the skin. Avoid any holes and avoid getting oil onto the fur. Work the oil from the center of the skin out to the edge.

When you’re sure you have all the skin covered, use a non-oiled finger to continue to work the oil into the skin, rubbing in circles, starting at the edges first and working toward the center. Squirrels are small, so you don’t need a lot of oil. You’ll know you’re done when the oil starts to feel tacky or sticky. At that point, fold the skin in half, flesh to flesh, and let it sit overnight.

To continue, see the next guide in our series How to Tan a Squirrel Part 4: Drying, Stretching & Finishing.

